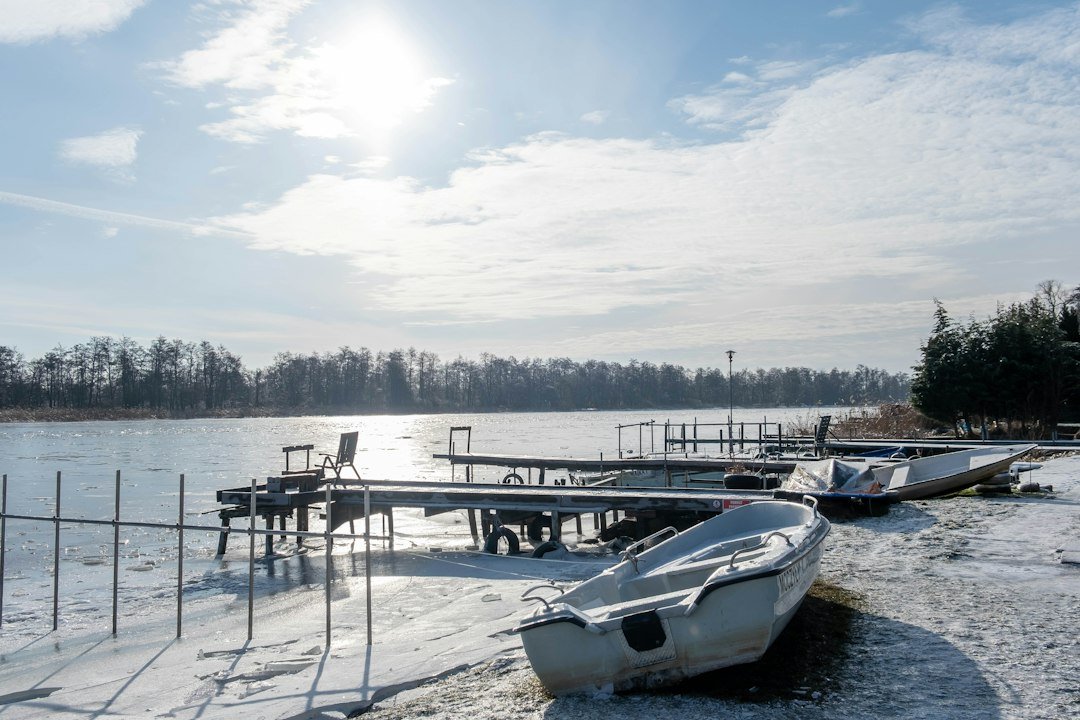
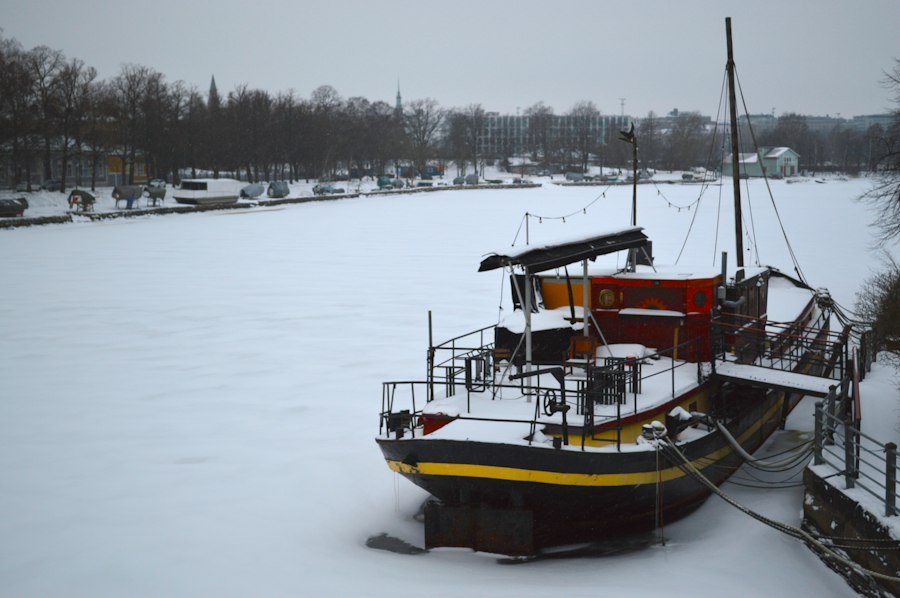
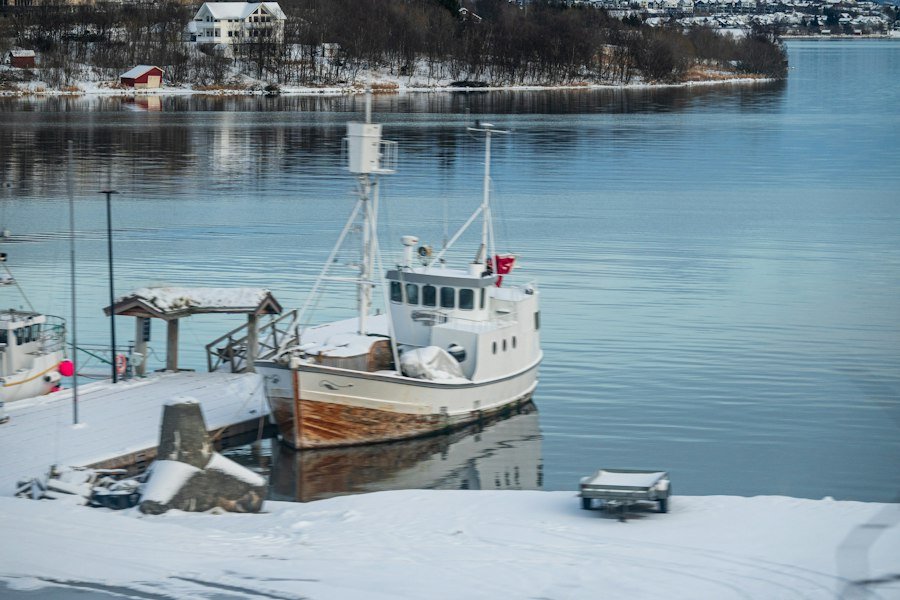
Bracing your boat for winter in a cold climate is essentially about preventing damage from freezing water and long-term storage. Think of it as a thorough check-up and tuck-in for your vessel, ensuring that come spring, it’s ready to hit the water without expensive surprises. This isn’t just about convenience; it’s about protecting a significant investment from potentially catastrophic issues like cracked engine blocks, damaged plumbing, and corroded electrical systems. Getting it right saves you headaches and money down the line.
Engine and Drive System Preservation
The heart of your boat needs the most attention when it comes to winterization, especially in freezing temperatures. Water expanding as it freezes can cause immense damage to engine blocks, manifolds, and cooling systems. The goal here is to get all water out and replace it with antifreeze, or ensure the system is completely dry.
Flushing and Antifreeze for Inboard/Outboard Engines
For most inboard and sterndrive engines, the process starts with a thorough flush. If your boat is still in the water, you’ll need to run it with a freshwater supply connected to the cooling system (usually via muffs for outboards/sterndrives or a seacock adapter for inboards). Run it until the engine reaches operating temperature to ensure the thermostat opens and freshwater circulates completely. This helps to remove salt, silt, and other contaminants.
Once flushed, the real protection begins with antifreeze. There are two primary methods:
- Closed Cooling Systems: These systems have a dedicated coolant reservoir, similar to a car. You’ll need to ensure the existing coolant is at the correct concentration for your climate’s lowest expected temperatures. It’s often a good idea to drain and refill the coolant every few years with a marine-specific long-life coolant. For the raw water side of the system (the part that cools the closed loop), you’ll still need to pump non-toxic marine antifreeze through it until it exits the exhaust.
- Open (Raw Water) Cooling Systems: These systems draw water directly from the lake or ocean to cool the engine. This is where non-toxic marine antifreeze is critical. You’ll need a large bucket, a flushing attachment, or a “winterizing kit” that allows you to directly feed antifreeze into the engine’s raw water intake. Run the engine (briefly!) while feeding antifreeze until you see it consistently exiting the exhaust. This ensures the entire cooling system, including the exhaust manifolds and risers, is protected. Use enough to see a clear, undiluted stream of antifreeze exiting the exhaust. It’s better to use a bit more than not enough.
Fuel System Stability
Ethanol in modern gasoline can be a real problem during long-term storage. It attracts and absorbs water, leading to phase separation, fuel degradation, and corrosion. Diesel fuel also has its own storage challenges, primarily microbial growth (diesel bug) and oxidation.
- Gasoline Engines: Add a high-quality fuel stabilizer, specifically one designed for ethanol protection, to a full tank of fuel. Filling the tank minimizes condensation inside the tank. Run the engine for about 10-15 minutes after adding the stabilizer to ensure it circulates throughout the entire fuel system, including the fuel lines, filters, and carburetor (if applicable). This protects against varnish, gum, and corrosion.
- Diesel Engines: Use a diesel fuel stabilizer that includes a biocide to prevent microbial growth. Again, fill the tank to reduce condensation. Running the engine briefly after adding ensures the additive reaches all parts of the fuel system. It’s also a good practice to change your primary and secondary fuel filters after stabilizing the fuel, or at least have fresh ones ready for spring commissioning.
Oil and Filter Changes
Leaving old, contaminated oil in your engine over the winter is a recipe for internal corrosion. Used oil contains acids, moisture, and combustion byproducts that can etch metal surfaces during prolonged storage.
- Engine Oil: Change the engine oil and filter. Use a marine-specific oil appropriate for your engine and expected winter temperatures (though the boat won’t be running, this ensures the correct properties for spring start-up). Fresh oil provides a clean, protective film on internal engine components.
- Gear Lube: For outboards and sterndrives, change the gear lube in the lower unit. Check the old lube for water contamination (it will look milky or foamy). If water is present, it indicates a seal issue that needs to be addressed before the next season. Water in the lower unit can freeze and crack the housing.
Fogging the Engine
Fogging oil provides a protective coating on internal engine components, preventing rust and corrosion during months of inactivity.
- Gasoline Engines: With the engine running (either on land with muffs/flush kit or briefly in the water), spray fogging oil directly into the carburetor or air intake while the engine is running. For fuel-injected engines, you might need to remove spark plugs and spray directly into the cylinders. Follow the product’s instructions carefully regarding how much to spray and how long to run the engine. The engine will sputter and smoke; this is normal. Continue until the engine stalls or you’ve adequately fogged all cylinders.
- Diesel Engines: Fogging is less common for diesel engines but you can remove the injectors (if accessible) and spray directly into the cylinders, or use a method that introduces a light oil mist into the air intake while cranking without starting. Consult your engine’s manual for specific recommendations.
Outdrive and Propeller Care
For sterndrives and outboards, removing the propeller is a smart move.
- Propeller Removal: Take off the propeller, inspect it for damage (nicks, bends), and clean off any marine growth. Grease the prop shaft before reinstalling the propeller or storing it separately. This prevents the prop from seizing on the shaft over time.
- Outdrive Inspection: Check the outdrive for any signs of damage, corrosion, or fishing line wrapped around the prop shaft, which can damage seals. Trim the outdrive down as far as it will go to allow any residual water to drain completely. Some prefer to leave the outdrive tilted up slightly to prevent water from collecting around the U-joint bellows, but the primary concern is draining internal water.
Water System Protection

The freshwater system, including pumps, tanks, and water heaters, is another prime candidate for freezing damage. Any residual water can expand and burst pipes, tanks, and fixtures.
Draining and Antifreezing Freshwater Systems
Completely draining all freshwater lines is the first critical step.
- Water Heater: Bypass your water heater first, if your system allows, to avoid filling its large tank with antifreeze. Then, drain the water heater completely. Remove the anode rod (if applicable) and leave the drain plug open.
- Tanks and Lines: Open all freshwater faucets (hot and cold), shower heads, and transom showers. Turn on your freshwater pump and let it run until it’s completely dry. Open the drain valve on your main freshwater tank and let it drain completely. It’s helpful to tilt the boat slightly if possible to ensure all water drains out.
- Pump Antifreeze: Once drained, use a hand pump or the boat’s own freshwater pump to draw non-toxic marine antifreeze into the system. You’ll need a good supply, often several gallons depending on the size of your boat. Start with the faucet farthest from the pump and work your way back, opening each faucet (hot and cold) until antifreeze consistently flows out. Don’t forget the head’s shower, transom shower, and any other water outlets. Flush the toilet if you have a marine head that uses the freshwater system.
- Strainers: Remove and clean any freshwater strainers. Leave them open or dry.
Head and Waste System Winterization
The marine head and holding tank also require attention to prevent freezing and odors.
- Toilet: Pump antifreeze through the toilet until it’s coming out into the holding tank. If your toilet uses raw water, pump raw water antifreeze through the intake.
- Holding Tank: Add a few gallons of marine antifreeze to the holding tank to mix with any remaining waste. If your boat has a macerator pump, run some antifreeze through it as well to protect the pump and discharge lines. Empty the holding tank completely at an approved pump-out station before adding antifreeze, if possible.
- Deck Washdown: If you have a deck washdown pump, especially one that uses raw water, ensure it’s either drained completely or has antifreeze pumped through it.
Bilge Pump Protection
While bilge pumps are usually designed to handle some water, residual water in the pump housing or discharge line can freeze.
- Drainage: Ensure the bilge area is as dry as possible. Use a sponge or wet/dry vac to remove any standing water.
- Antifreeze: Pour a cup or two of non-toxic marine antifreeze into the bilge. This will help protect the bilge pump and any remaining water in the discharge line from freezing.
- Automatic Systems: Disable automatic bilge pump switches for the winter if your battery will be disconnected.
Electrical Systems and Battery Care
Properly handling your boat’s electrical system is crucial for safety and preventing battery damage. Freezing temperatures are particularly hard on uncharged or partially charged batteries.
Battery Disconnection and Storage
Batteries need attention to ensure they last through the winter and don’t become a drain hazard.
- Charge and Disconnect: Fully charge all batteries before storage. Then, disconnect the negative terminal first, followed by the positive terminal, on all batteries. This prevents any parasitic draws from slowly draining them.
- Remove for Storage: Ideally, remove batteries from the boat, especially if the boat is stored outdoors in very cold climates. Store them in a cool, dry place where temperatures don’t fluctuate wildly, like a garage or basement.
- Trickle Charging: Connect batteries to a smart, multi-stage battery charger or a battery tender that will maintain a full charge without overcharging. Check water levels in wet-cell batteries periodically and top up with distilled water if needed. A fully charged battery is much less susceptible to freezing damage.
Electrical System Protection
Beyond batteries, protecting the rest of your electrical system involves reducing moisture and preventing corrosion.
- Connections: Inspect all electrical connections for corrosion. Clean any corroded terminals with a wire brush and apply a dielectric grease or marine-grade corrosion inhibitor to protect them.
- Electronics: Remove any portable electronics like GPS units, fish finders, and radios that are not permanently mounted. Store them indoors in a controlled environment. If permanently mounted, ensure they are powered off, and consider using a moisture-absorbing desiccant in their immediate vicinity.
- Shore Power: If your boat is stored ashore, disconnect any shore power cords unless they are being used for a trickle charger on the batteries. Ensure the shore power inlet is covered to prevent moisture ingress.
Exterior and Interior Care
Protecting the exterior and interior of your boat from the elements, pests, and moisture is just as important as the mechanical systems.
Cleaning and Protecting the Hull
A clean hull is the first step in preventing long-term damage and making spring commissioning easier.
- Thorough Cleaning: Wash the entire hull, deck, and topsides thoroughly with a marine-specific boat soap. Remove all dirt, grime, salt, and any marine growth from the hull. Pay special attention to the waterline and any areas that were submerged.
- Waxing/Polishing: Apply a good quality marine wax or polish to the hull and gelcoat. This provides a protective barrier against UV damage, dirt, and staining during storage.
- Bottom Paint Inspection: Inspect your bottom paint. If it’s nearing the end of its life, consider applying a fresh coat in the spring, or touch up any bare spots to prevent osmotic blistering.
Covering and Venting
A proper cover is essential for protecting your boat from snow, ice, and UV radiation, but ventilation is key to prevent mold and mildew.
- Support Structure: Use a sturdy support structure under your boat cover to create a high peak. This prevents snow and ice from accumulating and forming puddles, which can stretch or tear the cover. It also promotes airflow.
- Mooring Cover vs. Shrink Wrap:
- Mooring Covers: If using a canvas mooring cover, ensure it’s clean and in good repair. Use all snaps and straps to keep it taut. Prop it up well for drainage and airflow.
- Shrink Wrap: Professional shrink-wrapping offers superior protection against the elements. It seals the boat completely. However, proper ventilation is even more critical with shrink wrap. Ensure the installer adds vents to allow air circulation and prevent moisture buildup.
- Ventilation: Regardless of the cover type, good ventilation is paramount. Open hatches, lockers, and cabin doors (if applicable) slightly, or install passive vents to allow air to circulate. This prevents condensation, mold, and mildew.
Interior Dehumidification and Pest Control
The interior of your boat can become a damp, inviting home for pests if not properly prepared.
- Remove Valuables: Take all valuables, electronics, linens, cushions, life jackets, and safety gear off the boat. Store them indoors in a dry, climate-controlled environment. This prevents theft, mildew, and extends the life of these items.
- Cleaning and Airing: Clean the interior thoroughly. Vacuum carpets, wipe down all surfaces, and empty lockers. Leave locker doors, drawers, and the refrigerator door ajar to promote airflow and prevent mildew.
- Moisture Absorbers: Place moisture-absorbing products (e.g., desiccant packs, dehumidifiers, or commercial moisture traps) in various locations throughout the cabin and lockers. Check and replace them periodically if storing for a very long period.
- Pest Control: Lay out rodent deterrents (mothballs, dryer sheets, commercial rodenticides) in strategic locations. Block off any potential entry points with steel wool or hardware cloth. Pay attention to engine air intakes and exhaust ports.
Final Preparations and Storage Location
| Step | Task | Materials Needed | Estimated Time | Notes |
|---|
| 1 | Clean the Boat | Boat soap, brushes, sponges | 2-3 hours | Remove dirt, algae, and salt to prevent damage |
| 2 | Drain Water Systems | Drain plugs, towels | 1 hour | Drain fresh water tanks, pipes, and bilge to avoid freezing |
| 3 | Add Antifreeze | Non-toxic marine antifreeze | 30 minutes | Use in water tanks and engine cooling system |
| 4 | Fuel Stabilization | Fuel stabilizer | 15 minutes | Add stabilizer to fuel tank and run engine briefly |
| 5 | Engine Maintenance | Oil, oil filter, spark plugs | 2 hours | Change oil and filters, check spark plugs |
| 6 | Remove Battery | Battery charger | 30 minutes | Store battery in a warm, dry place and keep charged |
| 7 | Cover the Boat | Boat cover, straps | 1 hour | Use a breathable cover to protect from snow and ice |
| 8 | Inspect and Lubricate | Marine grease, lubricants | 1 hour | Lubricate moving parts and inspect for damage |
Before you walk away for the winter, a few last checks and considerations about where your boat will spend the cold months.
Drain Plugs and Thru-Hulls
This is a small but critical step that often gets overlooked.
- Remove Drain Plugs: For boats stored out of the water, remove the hull drain plug(s). This allows any residual water from rain or melting snow to drain out of the bilge, rather than collecting and potentially freezing.
- Seacocks: Ensure all seacocks are closed, except for any that might be left open to facilitate drainage during the winterization process (e.g., a raw water intake for antifreeze). If you have a raw water washdown or livewell, ensure those lines are also drained or have antifreeze circulated through them.
Trailer Maintenance (if applicable)
If your boat is on a trailer, don’t forget the trailer itself.
- Tires: Check tire pressure and inflate to the recommended PSI. If the boat will sit for a long time, consider jacking the trailer up and placing it on blocks to take the weight off the tires, preventing flat spots.
- Bearings: Inspect wheel bearings. If they are not sealed, consider re-greasing them, especially if you trailer regularly.
- Brakes: If your trailer has brakes, ensure they are in good working order and not seized.
- Lights: Check all trailer lights.
- Tongue Jack/Winch: Lubricate the tongue jack and winch to prevent seizing.
Choosing Your Storage Spot
Where you store your boat can impact the winterization process and the boat’s condition.
- Indoor Heated Storage: This is the ideal option, as it largely eliminates the risk of freezing. You still need to drain water systems and stabilize fuel, but the antifreeze step might be less critical. It also protects from UV and precipitation.
- Indoor Cold Storage: A good option that protects from precipitation and UV, but freezing is still a risk. Thorough winterization is essential here.
- Outdoor Storage (Covered): Offers good protection from direct precipitation and UV, but open to ambient temperatures. Full winterization is a must.
- Outdoor Storage (Uncovered): The most challenging option. Requires the most robust winterization, a very strong, well-supported cover, and frequent checks to remove snow and ice. This is where rodent and moisture control become paramount.
By following these steps, you’re not just putting your boat away; you’re actively safeguarding it against the harsh realities of winter. It’s an investment of time now that truly pays off in peace of mind and fewer repair bills when spring arrives.